


Configure your printer in a wireless network using Secure Easy Setup, Wi-Fi Protected Setup, or AOSS. If you want to proceed with connecting the printer network, do contact the system admin before installation
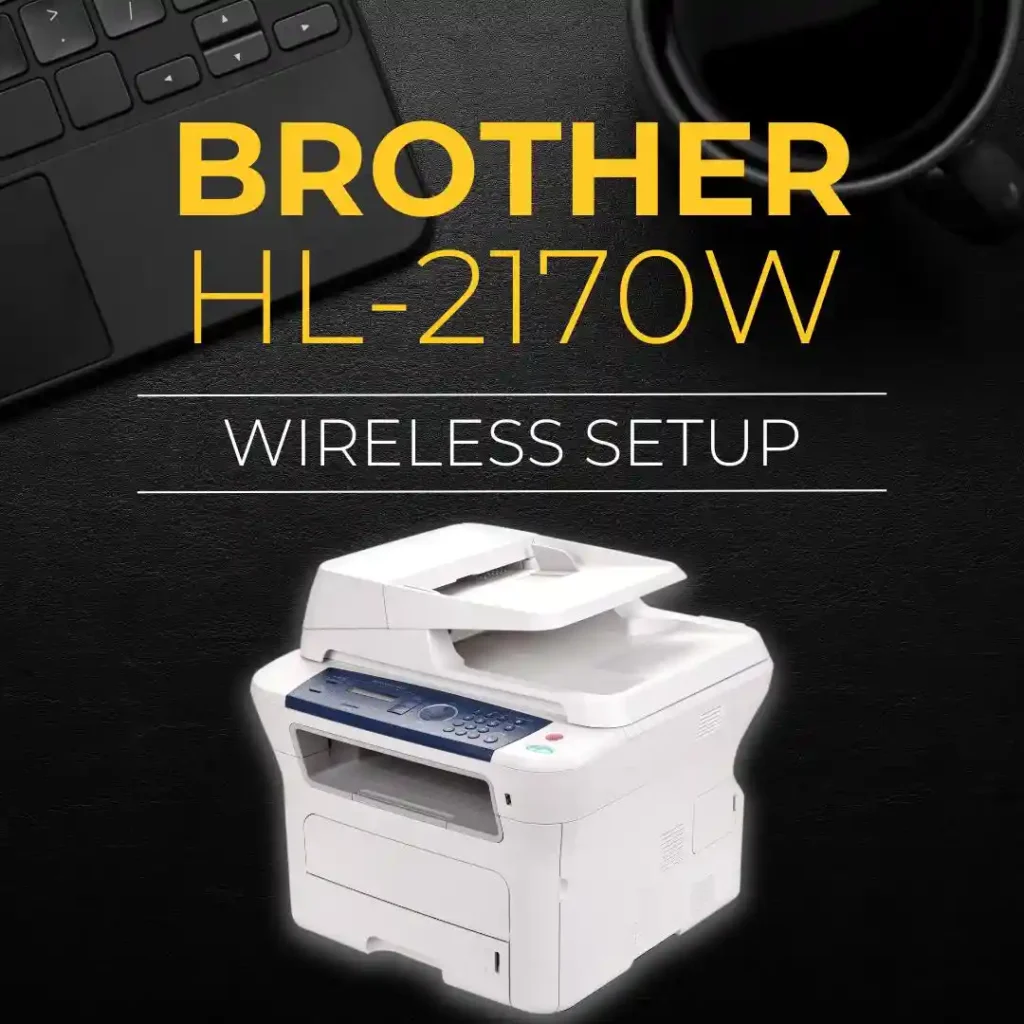
Steps to Enable Brother HL-2170w Wireless Setup
Proceed with Brother Wireless Printer Setup by pressing the wireless button situated at the back of the printer for 2 seconds. You will be in one push-setting mode by pressing the wireless printer setup mode.
This inbuilt feature automatically detects the mode of your access point for one-push configuration (SecureEasySetup, Wi-Fi Protected Setup, or AOSS) of your printer for Brother Printer setup.
Press the button by using a point object like a ballpoint pen to start with Brother Wireless Printer Setup
Just make sure not to press the wireless button for more than 3 seconds. Doing so will change the PIN method of the Wi-Fi Protected setup mode. If the mode has been changed, wait for 5 min to clear the mode. You can also switch off the power of the printer and turn it again to clear the previous mode. Now, go ahead with Brother hl-2170w printer setup, by pressing the wireless setup button and repeat the process by starting from step 1
Now, the printer starts with one-push wireless setting mode. The printer will now search for an access point that supports SecureEasySetup, i-Fi Protected Setup, or AOSS. Searching will take 2 minutes. Within the time there will be alternate turning on of Turning LED for 0.2 seconds and off for 0.1 seconds.
Go further with Brother Printer Setup Put your access point in either of these modes: the SecureEasySetup, the Wi-Fi Protected Setup, or the AOSS mode, depending on what is supported by your access point. It would be good if you referred to the instruction manual that came with your access point. Now, the printer connects and downloads settings from the access point. Within that period, the Toner and the Drum LED alternates turn on for 0.2 seconds and off for 0.1 seconds.
Next, Wait for the Ready LED (Go button) of your printer to successfully establish the connection. The RED LED will indicate “Connection succeeded” when it can successfully establish the connection. The Ready LED will turn on for 5 minutes after the printer establishes the connection.
You will be able to use your printer on a wireless network. You have successfully attained Brother hl- 2170w wireless setup.
The connection has failed If the Error LED is turned on and off every 0.1 seconds for 30 seconds. To clear this message and enable, Brother hl-2170w wireless printer setup go to step 8
The session overlaps if the LED repeats the pattern 20 times turning off half a second after flashing 10 times. To clear this message, and proceed with the Brother Printer setup go to step 9
The printer failed to connect to your router or access point. Try again for the setup by starting from step 1 again.
Reset the printer back to the default factory settings, if you get the same message. Try again. Routers or access points have been detected on your network that have the Wi-Fi Protected Setup mode or the AOSS mode enabled. Ensure that only one router or access point has the Wi-Fi Protected Setup mode or the AOSS mode enabled for Brother hl-2170w Wireless Setup and try starting from step 1 again.
If you face issues with your Brother hl-2170w wireless printer setup. Communicate with advanced printer setup experts at Brother Printer setup to obtain the best troubleshooting for the same.
More helpful posts: