

Table of Contents
ToggleBrother MFC-7360n Setup
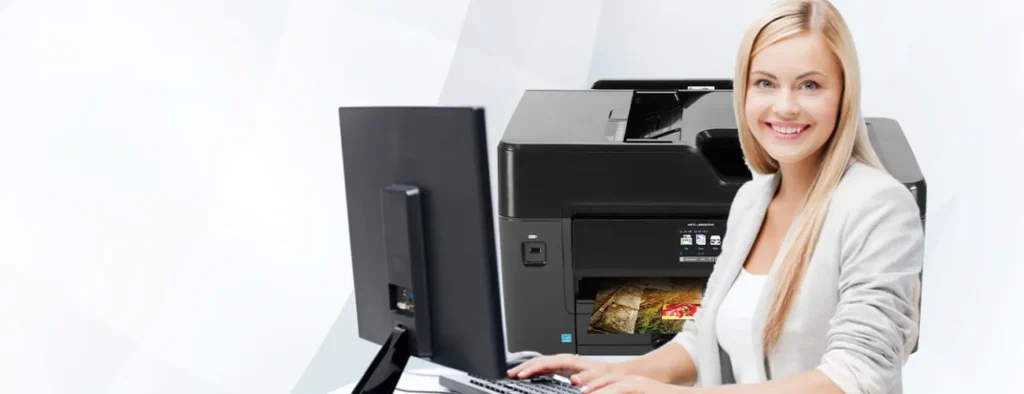
The Brother MFC 7360n Setup is usually completed in few minutes. The users just need to have the basic knowledge on how to use few of the components on the printer.
You can refer to the manual in case you need to know of some commonly used terms throughout the Brother MFC-7360n Wireless Setup.
Following are the steps that will help you complete the Brother MFC 7360n Setup and the Brother MFC-7360n Wireless Setup.
Unpack The Brother Printer
- Start off by unpacking the printer and checking all the components that came along with the printer. The components are – the Drum unit and toner cartridge assembly, installation CD-ROM, the user’s guide, setup guide, telephone line cord, AC power cord and the safety and legal booklet.
- When you take the packaging out, make sure all these items are in the box. And remove the plastic packaging from every item, including the printer.
Lift the cartridge access door on your printer and take out all the plastic coverings from the base of it.
If you have not received a USB cable, you can get one yourself. Make certain that it is a USB 2.0 cable Type A or B. The maximum length of this USB cable should be not more than 2 meters.
Also remove the packing tape from inside the printer. along with that, also take out the film covering the scanner on the printer.
To keep the machine safe for longer tome, silica packets are put inside, throw away these silica packets.
There is an elastic band on the front side of the printer. Lift off this band and pull the paper from inside of the machine.
- Keep the drum unit and the toner cartridge assemble handy. Give it a light shake, this will help the toner get evenly distributed throughout the cartridge. Once done with this step, you can put back in the drum unit and toner cartridge assembly. And close the door on the machine.
- Pull out the paper tray completely out of the Brother printer. You can adjust the size on the tray by moving the release lever across the sides of the paper tray. Ensure that these guides are fit firmly in their spot.
- Before you load in the stack of papers, try fanning the whole stack. This will help you avoid issues caused due to stuck and misfed papers.
Related: Brother MFC 7360n Wireless Setup
How to Connect Brother MFC-7360n To Wireless Network
The process for setting up the Brother printer to a wireless network has been described here. Follow these steps to complete the Brother MFC 7360n Wireless Setup in the shortest time possible –
The in-built Wi-fi feature on the printer enables it to connect to any wi-fi network around it. Start off the process by plugging the power cable into a power outlet and turning on the Brother printer. Push the ‘Power’ button on the printer. If the Brother printer still does not turn on press and release the ‘Power’ button two to three times.
The pre-requisite here is that you should be aware of the username or the SSID and the password to your wi-fi network.
Open a web browser and go to the website of Brother. Fill in the details of the model number when asked.
Once you are directed to the next screen, select the ‘Add wireless network’ option. When prompted to type in the SSID and the password to the wi-fi network, do so and move to the next page. The printer will connect to the wireless network in few minutes.
And the Brother MFC 7360n Setup will be complete with this step.
Go to the ‘Windows’ icon and select ‘Control Panel’. Then select ‘View devices and printers’ or ‘Devices and printers’ it differs based on the version of the Windows Operating system you are using.
Select the ‘Add a printer’ option from the top of the window. Select your printer from the list.
The printer will connect to the Wi-fi network in few seconds and the Brother MFC 7360nSetup will be complete.
Related: Brother HL-2170w Wireless Setup
WPS or Wi-fi Protected Setup –
If you want to carry out the Brother MFC 7360n Wireless Setup via the WPA mod, you have to make sure that your router has the WPA feature. If you see a WPS push button on your router, you are good to go with the Brother MFC-7360n Wireless Setup via this mode.
Once you have turned on the printer and the router is also on, you just have to push the WPS button on the printer and then push the WPS push button on the router too. Make sure you do this within two minutes of pressing the WPS button on the Brother printer.
This will direct the printer to accept and connect to the Wi-fi network.
If you’ve any concern contact brother printer wireless setup team for help
More helpful posts: