

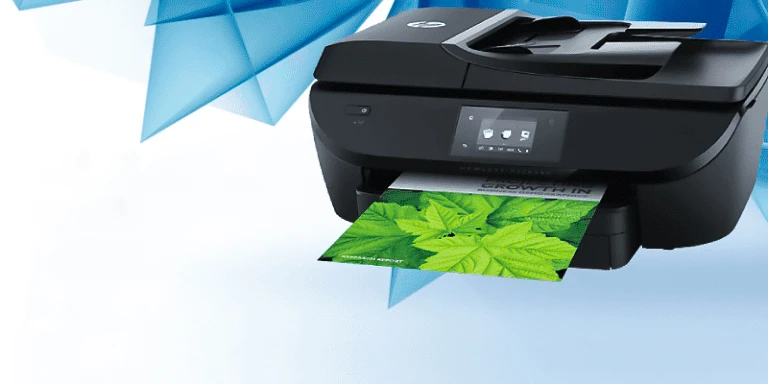
One of the most advanced features of HP OfficeJet 4650 Wireless Setup Printers is that we can get the printer in a functional mode without getting in touch with its control panel by physical means. Instead, now the user can enjoy a seamless user experience just by getting it done via a WLAN network to operate and use them from anywhere within a range of 100 meters, without any hassles as they are compact and come up with the inbuilt circuitry.
But sometimes the users get annoyed when their HP OfficeJet 4650 Printing does not function well even when all the wires and connectivity are perfectly aligned. We understand that it can create a great nuisance in work life. But don’t get stressed if you are facing the same issues. Operational issues are common with most Wireless Printer machines so don’t panic in this situation just follow some expert-based steps and tips so you can resolve the issues easily.
Troubleshoot HP OfficeJet 4650
Though it is a rarely occurring issue that can appear due to a lot of various reasons it is recommended by experts that users need to make sure that they are using the authentic adaptor unit and also the fine functioning of all the power sockets on wall outlets. It is advisable to immediately reach out to the experts to seek any kind of assistance and troubleshooting help.
Connect HP OfficeJet 4650 Printer On A Wireless Network
- Firstly, Switch “ON” your Wireless printer. For enhanced user experience you can use the touchscreen available for command initialization in the wireless printer to connect to the wireless network.
- Scroll using up-down keys press the right arrow key and then press setup on the touchscreen.
- Choose Desired HP OfficeJet 4650 Wireless Setup Network from the setup menu options.
- In Menu options, Select Wireless Setup Wizard, this will look for all the available wireless routers in the range.
- Now carefully, select your Network ID (SSID) from the list generated.
- Now be careful while entering the WEP/WPA key for the network and tap on the Done button.
- Ensure to press OK to confirm the Network settings. Lastly, Press OK to print the wireless report or you may skip this also.
Related: HP Officejet Pro 8710 Wireless Setup
Reasons For HP OfficeJet 4650 Wireless Setup Not Working
When a user encounters a disconnection problem and seeks to resolve How To Troubleshoot HP OfficeJet 4650 Wireless Setup installation issue. This HP Printer issue is generally a case meant for the experts to take a close watch and work to assist you 24/7 to get rid of all your concerns related to repair and bug fixing. This error generally appears due to several known reasons, which need to be fixed to get rid of it. Several worth noting reasons are mentioned below:
- Defective or worn-out HP charger.
- Unauthentic/ Unmatched or underpowered charger.
- Defective or faulty charging socket.
- The battery does not have enough energy as it runs to zero percent.
- Unstable updates in the operating system.
- Defective or local battery.
- Motherboard-related issues like processor unit check, charge storage unit of laptop.
- Incorrectly Calibrated battery management software.
- Registry containing corrupted files and missing files.
- Hardware interfacing issues between PC and Printer
- Corrupted files in Registry
- Virus attack issues at our PC drives.
- Unauthorized Cable usage issue, affecting interconnectivity
- Faulty device installation in the channel of communication
Also, check the HP Officejet 3830 Wireless Setup
If Wireless Printing Not Working With HP OfficeJet 4650
- Disconnect WiFi Router, Modem, and Printer: Disconnect power from all these devices. This is the first step in resetting network and printer settings.
- Wait 20 seconds: This will reduce any remaining power in the device. This is a critical step to ensure a successful reset.
- Reconnect all devices: Reconnect all devices to power. This includes WiFi routers, modems, and printers.
- Turn on all devices: Allow all devices to start. You may need to press the power button on the left side of the printer to turn it on.
- Check the lights on your modem and router: Before trying to reconnect to the Internet, make sure all lights on your modem and router are on. These lights indicate that the device is working properly and is ready to connect to the Internet.
- Access Printer Settings: Navigate to Printer Settings on the printer touch screen.
- Select Network Settings: Select Network, then Wireless Setup Wizard.
- Select your Wi-Fi network: A list of available networks will be displayed. Select your WiFi network from this list.
- Enter Network SSID: In this step, you need to know your network SSID.
- Install HP Smart App: This app helps you connect your printer, install drivers, provide printing, scanning, faxing, file sharing, and diagnose/fix major issues. HP+/Instant Ink customers must create an HP account and register.
- Disconnect VPN: Disconnect all virtual private network (VPN) connections before downloading.
- Download the HP Smart App: Creating a Microsoft Store account to download the HP Smart app is optional.
- Installation Support Documentation: Use the Installation Support Documentation for additional help.
- Reconnect the printer to the Wi-Fi network: Go to the HP OfficeJet 4650 Wireless Setup settings and select the option to connect to the Wi-Fi network. Select your network from the list of available networks and enter your password if necessary.
- Test Printer: Try printing a test page to make sure the printer is working properly. If the printer still doesn’t work, you may want to consult the printer manual or contact HP customer support for further assistance.
FAQ‘s
How do I diagnose my HP OfficeJet 4650 Wireless Setup problems?
- Firstly, download the HP Print application
- Now go for the Run task in the properties section of the download location on your computer.
- Ensure to check that once the HP Print wizard is open, press the Start key, and then choose your printer key name among the available ones.
- Also, now given that depending on the issue, click either Fix Scanning or Fix Printing.
- Look for the test results that are displayed with icons:
- A checkmark signifies that your printer is OK and passed.
- A wrench mark means an issue was detected and fixed.
- An exclamatory mark signifies that a test failed.
- An X signifies that the printer has issues that need to be fixed under expert observation. Follow the instructions to fix it.
Read More