
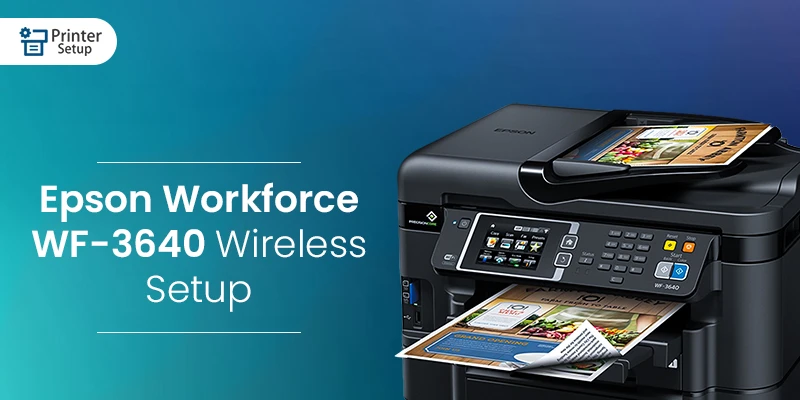
The Workforce WF3640 offers flexible paper handling and enhanced productivity for business establishments of all types. Powered by Epson’s printing technology called PrecisionCore, the WF3640 delivers powerful performance for all printing needs at your home or office. This fantastic all-in-one printer gives fast, laser-sharp black and color text and print-shop-quality color prints. Plus, you save on ink with a 40 percent lower printing cost than any other laser printer. This wireless printing machine quickly prints from smartphones and tablets as well. Its three paper trays offer great versatility and can carry 500 sheets max in the front and spare the rear tray for speciality paper or envelopes. Extra inherent features comprise auto 2-sided copy, scan, fax, and a 3.5″ color touchscreen. Come to the world of efficient printing with Epson Workforce WF3640 Wireless Setup.
Wireless is necessary as Wi-Fi spreads rapidly, replacing wired LAN in offices and homes. The purpose is that most high-end printers now come loaded with Wi-Fi built into them. That enables printing documents wirelessly without the use of any cables whatsoever. Before you start printing on the wonderful Epson Workforce WF3640, you need to connect and configure your printer to print via Wi-Fi connectivity. For the Wi-Fi to take charge as a printing medium, your computer and printer must connect to the same Wi-Fi router or an access point linked to the same router. While Epson WF3640 is an all-in-one printing solution, you can avail the service through Epson Workforce WF3640 Wireless Setup. To set up wireless printing for your Epson WF3640, you need to follow the specific steps that we describe below.
Setting Epson WF3640 Wirelessly Using The Printer’s Control Panel
Can I connect Epson WF3640 to my wireless network using the buttons on the printer’s control panel? You can choose or alter wireless network configurations using your printer’s control panel. Before the setup process, ensure you have a network key and wireless network name. For selecting a wireless network configuration from the control panel to install your product on a wireless system, you need to follow the guidelines we go on to describe here.
At the outset, you must back up your printout, fax, and network data and settings before we begin. Here are the steps of Epson Workforce WF3640 Wireless Setup with printer’s control panel:
- Turn on your Epson Workforce WF3640 printer. Also, ensure there are no cables or USB drivers attached to it.
- Press the Home button and hit the Wireless icon on the printer control panel.
- A new window appears on the printer screen for the Epson Workforce WF3640 wireless Setup.
- Choose Change Settings > Wi-Fi Setup or Wi-Fi> Start Setup Wizard.
If you need to turn off the wireless network to set up your product with Ethernet, you may disable Wi-Fi.
- Choose the name of your wireless network or key in the name manually. To manually enter the wireless network name, choose other Networks, then select the Network SSID field. Use the keypad to join your network name with Epson Workforce WF3640 Wireless Setup.
- Choose the Password field to key in your wireless password with the keypad that shows up.
- Press OK after keying in your password, then select Proceed.
- Just confirm the network settings that are being displayed and choose OK to save.
- Select Done to finish the Epson Workforce WF3640 Wireless Setup. If you require to print a network setup report, press one of the buttons for the purpose
- Return to the Home screen by pressing the home button. When the network successfully connects, the Wi-Fi icon on the LCD screen shows light in the upper-right corner.
To get more help, click here Epson Support
Epson Workforce WF3640 Wireless Setup Using A Wireless Router Or Access Point
You can take the help of the Wi-Fi Direct mode to facilitate a direct link between your printer and computer or other devices, even without an access point or wireless router.
- Press the home button and press the wireless icon.
- Select Wi-Fi Setup, which opens up a list of choices.
- Choose Wi-Fi Direct Setup.
- Next, choose Connection Setup.
- Opt for Change Password, then choose Yes for Epson Workforce WF3640 Wireless Setup.
If you link computers or devices to your printer through Wi-Fi Direct, they will be disconnected when you alter the password.
- Now, key in the password of the Wi-Fi Direct using the keyboard that shows up. The password must invariably be at least eight and no more than 22 characters. Press enter after entering the password to open a list of options.
- Scroll down to see the SSID – Wi-Fi network name and password.
- Use your wireless device or computer to choose the Wi-Fi network name SSID shown on the LCD screen, then enter the Epson Workforce WF3640 wireless Setup password.
- Return to the Home screen by pressing the home button. You will see a D, AP or Direct connection symbol on the LCD screen. You should be able to print directly from your device or computer.
If an AP, D, or Direct connection symbol doesn’t show up, Wi-Fi Direct mode might not be enabled. Try again with the same steps.
Install WF3640 wireless drivers using software CD:
Install the driver from the product CD, or download it for Epson Workforce WF- 3640 Wireless Setup.
You can install the Epson Workforce WF3640 drivers using a CD wizard:
- Turn on the Epson Workforce WF3640 printer by pressing the power button.
- Load the driver CD that was delivered with your Epson Workforce printer into your CD drive.
- The AutoPlay window will prompt you to Install or run the ensuing program from your media player.
- Now click on Run the file Autorun.exe.
- Windows will confirm whether you want to open the Installer. Click Yes.
- Before the installation begins, you must review the agreements and click on the checkbox to continue with the Epson Workforce WF3640 Wireless Setup driver installation.
- You’ll be prompted to click Next to begin the Epson Workforce WF3640 printer driver installation. The Installer copies files from the CD and puts them on your computer.
- A menu will show choices to make sure you select the way you want to link your computer to the printer.
- Select to connect it through a wireless network.
- A window will show up, asking you to connect one end of the USB cable to your laptop/computer and the other to the printer.
- Your computer automatically locates your printer. Continue with the next step with the installation.
- Once the installation is completed, the Installer will notify you about it, saying the driver was successfully installed. Click Finish to complete the Epson Workforce WF3640 Wireless Setup.
Read More

