
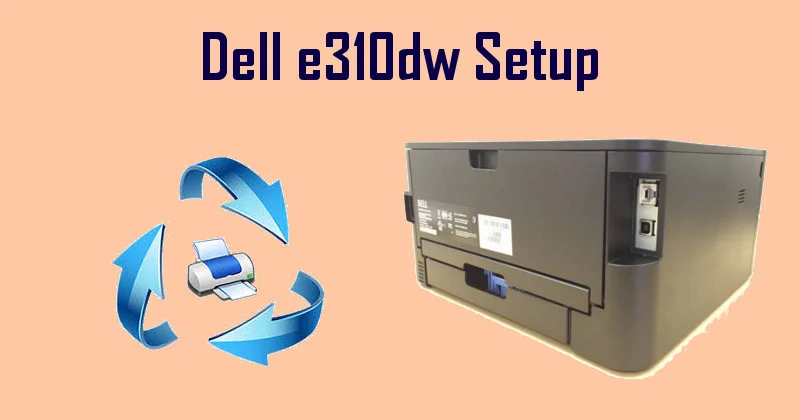
The Dell e310DW Printer has built-in Wi-Fi connectivity and automatic two-sided printing. Have you already purchased the printer and facing issues with setup? Follow the easy steps in the blog for setup. In case you still come across issues while setting up your Dell Printer, you can communicate with experts at Dell Support to help you with the same.
Ensure the following essentials before proceeding with Dell e310dw Wireless Setup
- Make sure to keep your printer close to the wireless LAN access point/router.
- Note down the Network Name (SSID) and Network Key (Password) as you will be requiring both of them for setup
Dell e310dw Connect to WiFi using WPS or AOSS
- WPS First check if the wireless access points are from wps or not.
- Select the network option then select ok.
- Select the WLAN option then hit ok”
- Now select the aos/wps option and press “O.K”.
- When WLAN is enabled press ok.
- Cancel the wireless setup wizard by pressing the back button.
- Press the WPS button on the wireless access router, when “press key on rtr” is displayed on LCD Screen.
- Now, continue by pressing the arrow up button on your brother’s printer control panel. The printer will automatically detect the mode of a wireless access point/ router and will try to connect.
- The printer’s LCD screen displays connected if Wi-Fi is successfully connected. And it will print the machine’s wireless status report. In case the connection fails, check the error code on the printed report.
Dell e310dw Wireless setup using Printer’s Control Panel Setup Wizard
- You require a Network Name (SSID) and Network Key (password) to start with the Dell e310dw setup. Just note it down somewhere on a piece of paper
- Now, make use of the arrow keys, select the network option, and then press O.K.
- Proceed with your printer setup by choosing a WLAN Option. After, choosing the option press O.K.
- Now select the setup wizard option and press O.K
- The WLAN Enable option appears. When the option appears, click on the “ON” option.
- The printer will start searching for your network and display a list of SSIDs available.
- Go ahead with the Dell e310dw setup by selecting the SSID you want from the list displayed.
- After selecting SSID, enter the Network Key (password).
- The printer will now try to connect to a wireless device that you have chosen. The printer’s LCD screen displays the connected message if the WIFI successfully establishes the connection.
- Now, the printer prints the wireless status report.
- When you are done with the Dell e310dw wireless setup, go ahead with installing the necessary drivers and software for operating your device from the Installer CD-ROM.
If still have queries regarding the setup of the Dell e310dw, just pick up a phone and dial the toll-free Dell Support Number to address your printer concerns.

