-
- Ultra-compact and portable Printer
-
- Simple and easy to use
-
- Lab Quality Printing
-
- Choice of four semi-gloss finishes
-
- Lab-quality Printing
-
- Low cost of printing
-
- Print from a range of cards, USB drives
-
- ID Photo Prints
-
- Scene and Face Detection
-
- Intelligent Correction
-
- Long-Lasting Quality
Table of Contents
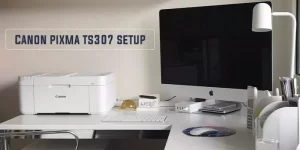
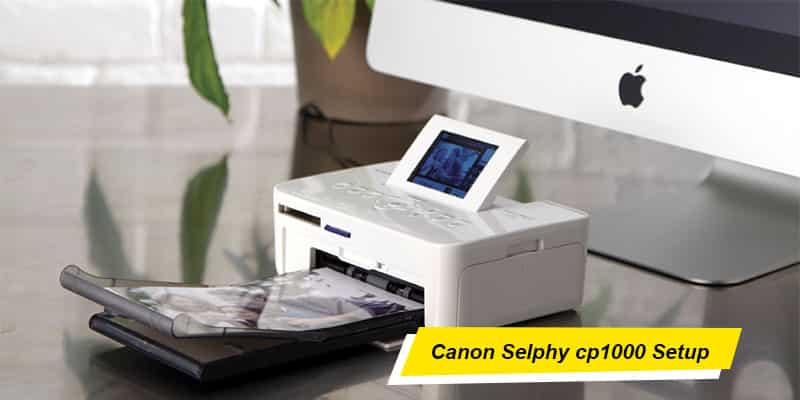
ToggleSystem Requirements for Canon Selphy cp1000 Setup
To work well with the Canon Printer, you are first required to check whether the system is compatible with the Printer or not. If you perform the setup process, and later come to know that the device is not compatible, then the setup process will end up in failure. Here are the requirements that your system must fulfill for Canon Selphy cp1000 WIFI Setup.| Windows OS | Mac OS |
| Windows 10, Windows 8.1 and Windows 7 SP1 | Mac OS 10.8 / Mac OS 10.9 |
| free disk space across 5MB | free disk space of across 7MB |
Procedure for Canon Selphy cp1000 Setup
To set up the Printer, you need to first download the Driver and Software package and then connect with the computer with the Printer. Check that you complete assembling the Printer before downloading the driver and performing the connection process. Follow the steps below for Canon Selphy cp1000 Setup. At the first step, you have to unpack the printer if you are using it for the first time and assemble it properly. You can refer to the user manual for assembling the Printer. Now, connect the Printer with the main power source and switch it ON. Check all the LED lights are depicting positive results.Downloading and Installing the Driver and Software Package
After assembling the Printer, switch ON the computer. Connect it to a high-speed internet connection.-
- Visit online on the official website for Canon Printers at ‘www.canon.com/icps’.
-
- Choose the country/region you belong
-
- Go with the instruction flow, and hit the download button corresponding to the ‘Canon Selphy cp1000’.
-
- Wait for the download to finish up. Downloading and Installing the drivers for your Printer is a crucial part of the Canon Selphy cp1000 Setup process.
-
- Now, click on the downloaded file to open it and start the installation process.
-
- The screen will prompt you for the installation process, and click on the ‘Yes’ button to continue.
-
- Go with the flow of the instructions, and agree to the terms and conditions.
-
- Finish up the process lastly.
-
- Tit completes the installation process, and you can now proceed with the Canon Selphy cp1000 WIFI Setup and connection.
Canon Selphy cp1000 Wired Setup
After successful installation of the Software and Driver package, you need to connect the Printer and the Computer. You can either choose the wired connection process we will discuss in this step or the wireless connection, as we will discuss in the next step.-
- Take a fresh USB cable and connect one end of the cable to the Printer and the other end to the Computer.
-
- The computer screen will show the Printer details to connect.
-
- Select the name of the Printer to connect it to the Computer.
-
- It completes the connection process. You can now print the test page successfully.
Canon Selphy cp1000 WIFI Setup
You can also connect the Printer wirelessly with the Computer. You need to arrange a high-speed internet connection for the Canon Selphy cp1000 Setup process. Make sure to connect both devices with the same network to avoid any connection failures.-
- Connect the Printer to a network by entering its name and password.
-
- Connect the computer with the same network by submitting its username and password.
-
- Now go to ‘Printers and Scanners’.
-
- Check the Printer’s name, and click on it to follow up with the connection process.
-
- After a successful connection, print the test page to check the successful connection between the two devices.
Print the Test Page
After following up with the installation and connection process successfully, you can print the test page to confirm the Canon Selphy cp1000 Setup process. If the print page prints successfully, you may continue printing with your documents, otherwise, follow the troubleshooting steps to resolve the error and then apply for the Canon Selphy cp1000 WIFI Setup again. Related: Canon TR8520 SetupWhy Prefer Canon Slephy cp1000 WIFI Setup?
For Canon Selphy cp1000 Setup, it is more suitable to choose the wireless method than the USB connection because there are fewer chances of failure. Also, you do not need to maintain the cable and check for any hardware damage using the wireless connection. The only thing that you need to maintain is your network speed and coverage. The wireless connection also allows you to print the documents remotely over a certain distance. You much prefer the wireless connection for its high accuracy and reliability. It always provides you with reliable results in the end. In the wired connection, there can be any damage issues, loose wiring problems, or compatibility issues. But all these problems skip in the wireless connection process. To achieve successful results for the Canon Selphy cp1000 Setup, make sure to follow all these steps in series without skipping or missing anyone. Also, check that the main power source plugs are tight and there is no damage. Place the router close to the device and decrease the network load as low as possible to attain the best connection for your network and complete the Canon Selphy cp1000 WIFI Setup without any issues or failures. If you’re still facing issues then get in touch with Canon printer support team for help.Read – Canon Support