-
- Wi-Fi Network which must be responsive
-
- Same Network Connectivity between the Computer and the Printer for HP Deskjet 3050 Wireless Setup.
-
- Ethernet Cable
Table of Contents
ToggleHow do I install HP Deskjet 3050?
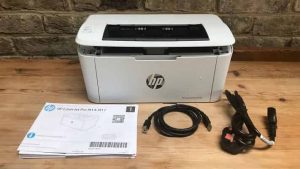
Unpack the Printer-
- The Printer comes protected inside the packaged box. You have to first open the box by removing its tape. Get the Printer out of the cardboard box.
-
- Now, you will see that the Printer is also packed with tape on its sides. You have to remove the tapes from the Printer.
-
- As soon as you pull the tape around the cartridge door, it will open up. Close the Cartridge door after removing the tape.
-
- Finally, your unpacking is complete, which is a crucial part of HP Deskjet 3050 Setup.
Checking the Box
The company provide you with a list mentioning all the items that come along with the Printer. The list varies according to your region and language. Check that all the items that are present which are there on the list. Also check: Hp deskjet 3520 connect to wifiConnecting the Adapter and the Power Cord
The first step to switching your Printer ON is connecting the Power Cord to the backside of the Printer. The other end of the Power Cord goes to the power outlet of your wall. Turn Power ON Now, turn your Printer ON by pressing its button. Hold the power button for some time and then wait for the light to blink.Specify your Region and Language
The Printer is ON, and on the control panel, you will see the list of all the languages supported by the Printer. Proceed with these steps for setting the default language or region as per your country. HP Deskjet 3050 Setup allows you to choose the language as per your choice.-
- Go to Printer’s control panel and press the down key.
-
- Now scroll amongst the various languages and select the one that you want to choose.
-
- Now, Press the button which is there next to ‘OK’ to confirm your language.
-
- For selecting your region, press the button next to Down Arrow.
-
- Now, Press the button which is there next to ‘OK’ to confirm your region.
-
- Load the Paper
-
- There is a special tray joining with the Printer, called the Input tray. The task of the input tray is to load the paper.
-
- Raise the input tray for loading the paper.
-
- Now pull out the extender of the tray.
-
- Now place the paper on this tray. Set the papers as a width guide to the outward side.
-
- Now the Printer will prompt you for the loading of the paper on it. Press the button next to OK to confirm your paper loading.
Installing Cartridges
This step is a much tricky part for HP Deskjet 3050 Setup. You must concentrate accordingly to install the Cartridge. The process for installing is:-
- First of all, open the access door of Cartridge. The carriage is there at the centre position. Wait for the carriage to be idle. There must be no noise corresponding to it.
-
- Pull the Cartridge out of its packing. Now detach the plastic tape and pull the pink part of it. Carefully remove the tape.
-
- Place the nozzle of the Cartridge facing the Printer. Do it by holding the Cartridge along its sides.
-
- Also, check that the icon on the slot and Cartridge should match accordingly.
-
- The Cartridge, which has tricolour, is set on the slot which is in the left position.
-
- The Cartridge, which has black in colour, is set on the slot in the right position.
-
- The Cartridge is then put forward in a slot till it gets fix into place.
-
- Repeat the same steps for inserting the other Cartridge.
-
- Now close the access door of the Cartridge.
-
- Now, press the button corresponding to OK, written on the control panel.
-
- You will have to wait for approximately thirty seconds to print the alignment page automatically and complete the HP Deskjet 3050 Setup process.
Aligning Cartridges
Perform the following steps to align the Cartridge.-
- First of all, lift the lid of the scanner.
-
- Keep the alignment side of the page downwards and place it like that, the printed side is on the right front corner of the scanner.
-
- Now close the lid of the scanner.
-
- Press the OK button on the control panel.
-
- Hence, the alignment process is complete.
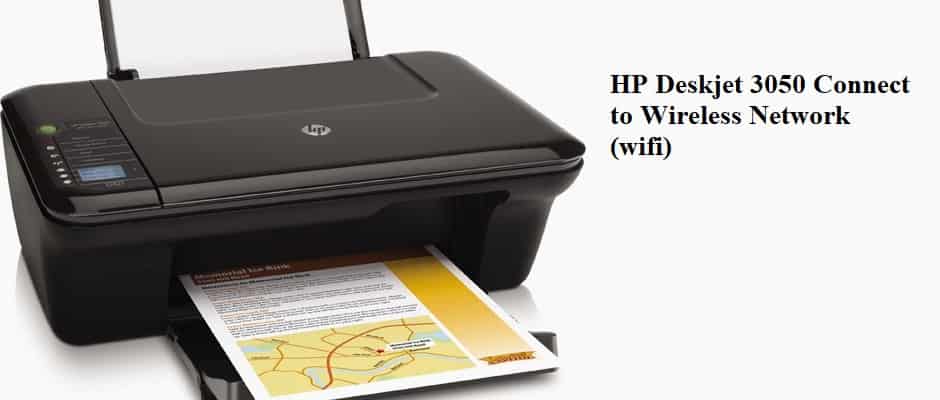
HP Deskjet 3050 Wireless Setup and Software Installation
-
- If you do not want to set up your Printer using the Ethernet cable, then there is one more method you can opt for, i.e. through a wireless network. For this, Connect your Printer and the System to the same wireless network, and your Wi-Fi must be working properly.
-
- Firstly, check that you are having the latest version of the HP DeskJet driver. For the latest version, go to the official site of the Printer and search for the drivers. Download and install the drivers for further processing.
-
- Now, for HP Deskjet 3050 Wireless Setup, check that the latest drivers are fully compatible with the operating system.
-
- Now switch the Printer and the Computer ‘ON’. Make sure that both of them are present on the same network for successful completion of HP Deskjet 3050 Setup.
-
- It’s time to download the Printer’s software that is embedding in the CD you got with the Printer. If you are not available with the software then you can also download it online from the official site of HP Printer. Now, go with the instruction flow to complete the process and hence installing the software for HP Deskjet 3050 Wireless Setup is complete. Make sure that the wireless network you choose should be the same for both devices.
-
- Before you install the software, you must first check the operating system requirements related to your Printer. Mainly used operating systems are MAC OS and Windows Vista.
-
- Now, connect the Printer with the Computer satisfying all the credentials. You must go for wired HP Deskjet 3050 Setup if your Printer is not giving proper response wirelessly. The minimum speed that you require to connect over the network is 2.4GHz.
Restore Wireless Settings
As a step towards HP Deskjet 3050 Setup, the following can be used to restore the settings of the Printer when you connect it wirelessly.-
- Turn the Printer ON by switching ON its button.
-
- Wait for the light corresponding to wireless to blink.
-
- Now install the software that is a must for the Printer to work wirelessly.
-
- Now, click the “Start Copy Black” button two times simultaneously.
-
- Click the ‘Cancel’ button three times simultaneously.
-
- Now release the ‘Power’ button.
-
- The light corresponding to the wireless button will start to blink after this step.
-
- Repeat the steps till the light blinks successfully.